
This service is currently not available. Please try again later.
03/01/2021
At Pantaenius | Stories & People
Isolation Afloat - Karen Oberg
Fend for Yourself ....“to take care of and provide for yourself without depending on anyone else”
It’s a good feeling to know that you can “fend for yourself”. In recent world developments relating to COVID19 I realised how well prepared we were for self-isolation. Sure, we haven’t totally cut the umbilical cord to society as we will still need supplies, diesel and petrol eventually. However we can sustain our living on the water for months without the need to come into “town”. This of course isn’t a new concept or way of life. Sailors of the past, farmers and areas where remote living is essential these people have paved the way for us. Learning though to be self-reliant takes a whole new way of thinking, and we are still learning.

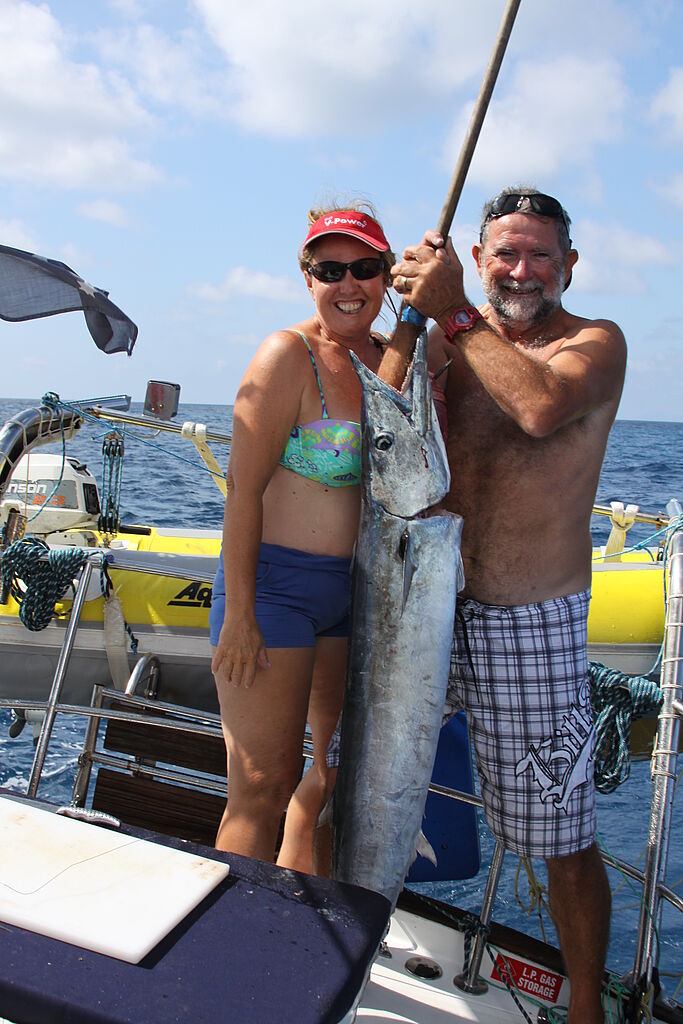
Provisioning on a boat isn’t about loading the shopping trolleys full of your favourite foods and heading off to sea. We have to be very choosy on what goes aboard. We don’t have the luxury of walk-in pantries, large refrigeration and wine cellars. We have to think carefully about weight distribution and what is truly essential. Chocolate and wine first .... but to be serious .....We set out for this time of self-isolation with enough food for at least 12 weeks we estimated. That’s 84 breakfasts, lunches and dinners for two. We reached day 57 before starting to run out of fresh supplies. We had a grand total of 7 apples, 8 oranges, 1 1/2 pumpkins, 6 sweet potatoes, 7 onions, bucket loads of garlic, 3 lemons and one not so great pineapple left. But don’t fear. We had a well stocked pantry which included the staples but also canned vegetables and fruit. They may not be as good to look at as fresh but they supply all the nutritional values that we need. A big help to our sustainability at sea was that by week three we had added more meals on the boat than we had consumed. Between fishing and crabbing, we had replaced what we had eaten plus added further to our food bank. Supplementing our boat stores this way enables us to stay out even longer and gives us a great range of healthy meal alternatives.
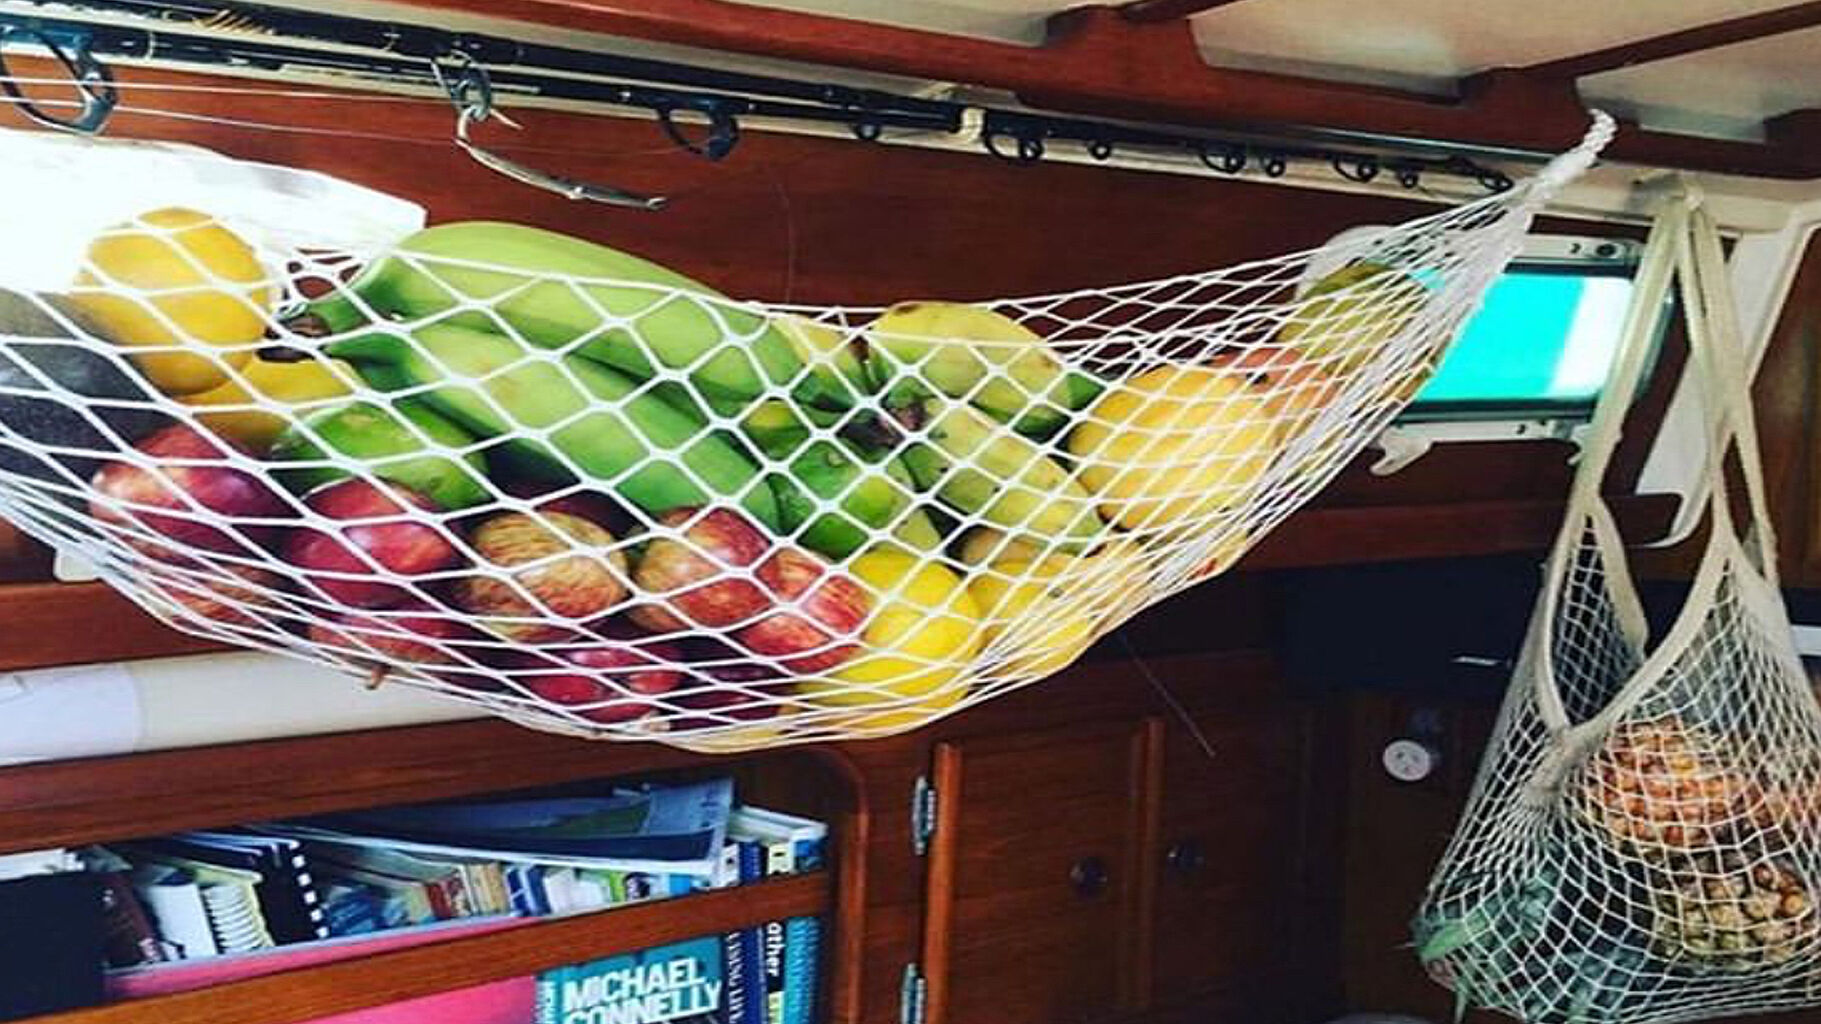
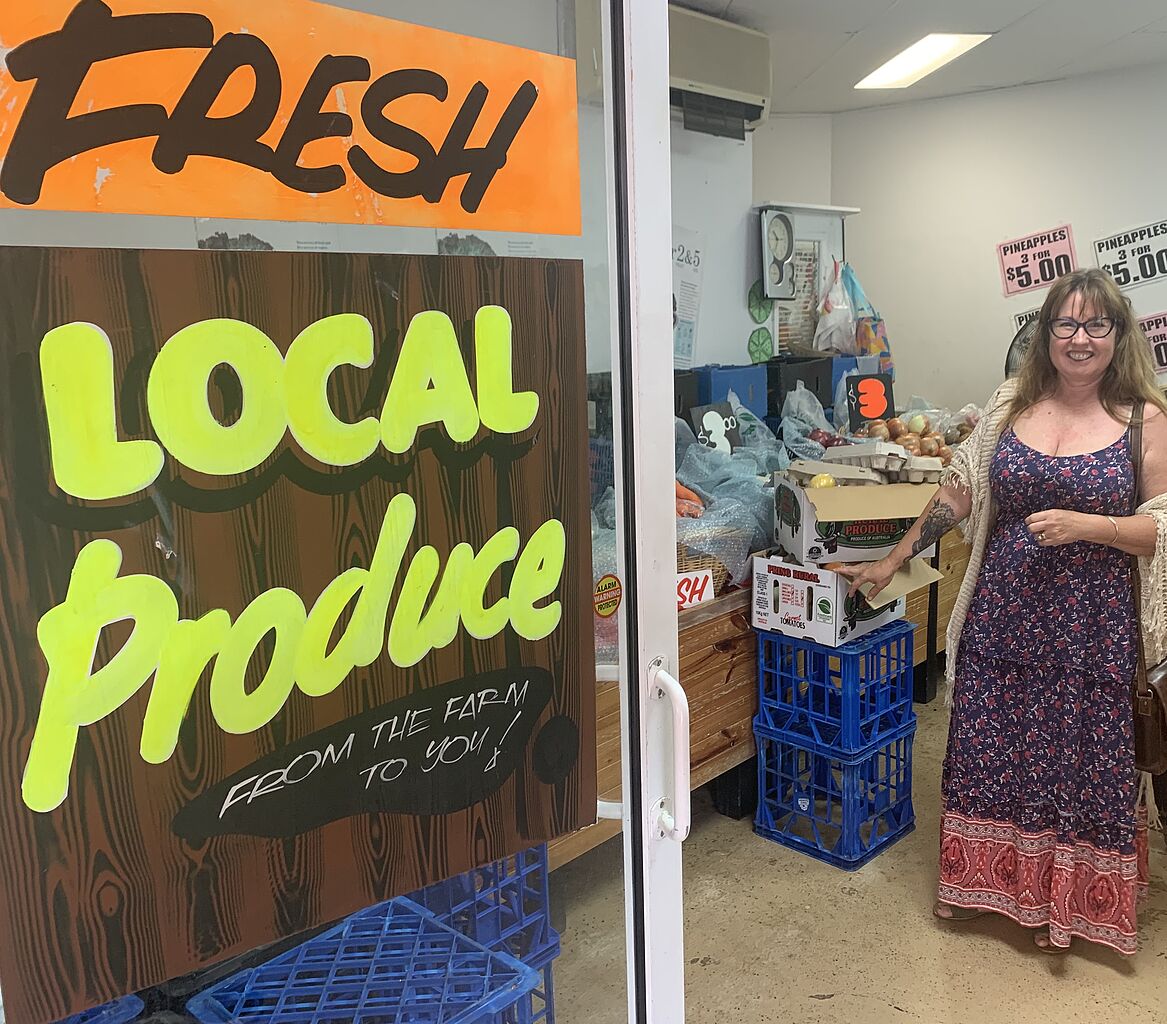
When provisioning for long trips we rarely buy packaged goods. Preferring to purchase the raw ingredients to make our foods. It’s easier to carry flour for bread, pasta, pizza, cakes and biscuits than it is to carry individual packets that have a ‘use by date’. It means we make it as we need it and it’s fresh. Unfortunately some packaged goods are unavoidable. We stock the food pantry wisely, filling the cupboards with dozens of cans you probably won’t need, is just wasting space. We concentrate on a sensible supply of essential dried items like flour, pasta, rice, quinoa, legumes and oats that can form the basis for lots of meals. We also stock up with frozen vegies and cans of useful items like tomatoes and lots of tuna. When it comes to long-lasting but versatile pantry staples, it doesn't get much better than canned tuna. The light, flaky, high-protein ingredient keeps well and adds both heft and nutrition to salads, sandwiches, pastas, and more. And its mild flavour means that you can incorporate it into a wide variety of dishes without worrying about the flavour doing battle with your other ingredients. We stick to some good fresh basics that have long shelf lives, pumpkins, sweet potatoes, potatoes, onions, garlic, ginger, apples, oranges, pineapples. We always try to buy fresh produce that has not been cold stored and is in different stages of ripeness. I have a good supply of eggs fresh for a couple of weeks but also freeze them so I can continue to bake and cook staples that require them. Yes eggs can be frozen. Crack the eggs into a bowl and mix the whites and yokes together well. Pour the mix into ice cube trays and freeze. Once frozen you can transfer to ziplock bags for frozen storage until required. Thaw them out in the fridge when required and they’re ready to use.We also have dehydrated eggs onboard for baking. They aren’t great for scrambled eggs and similar but you won’t know the difference in a cake. Onboard we haven’t got room for a vegie garden, but we can grow herbs in containers as well as sprouting legumes and beans. These add variety and good nutrition to the meals we are making. So what do we eat on Our Dreamtime. Well everything you do at home. The only difference is we need to plan it months before hand. If I’m feeling lazy I can’t just call “Uber” for a takeaway. I also try to work a no waste policy in the galley. Portion control has never been one of my strong points so I have made myself use leftovers the following day for lunches or snacks. I have found I actually love the challenge of making something new from the night before’s dinner, so unfortunately my portion control hasn’t got any better.
Our typical day of food really is no different from yours. A typical day is Granola and Yoghurt for breakfast, Sushi, Sashimi and Rice Balls for lunch, a slice of Honey and Beer bread for afternoon tea, Seared Fresh Tuna and Beans for Sundowners followed by Coconut Rice topped with Mackerel and Chilli Gremolata. The difference is each element has to be made onboard. We have no special skills enabling us to do this. Like everything it’s just planning. If I ever go back to being a landlubber I will certainly take the skills I’ve gained living aboard to ensure we have a healthier diet.
Following are some of the meals we have consumed over the past 56 days along with the recipes, hope you enjoy them.
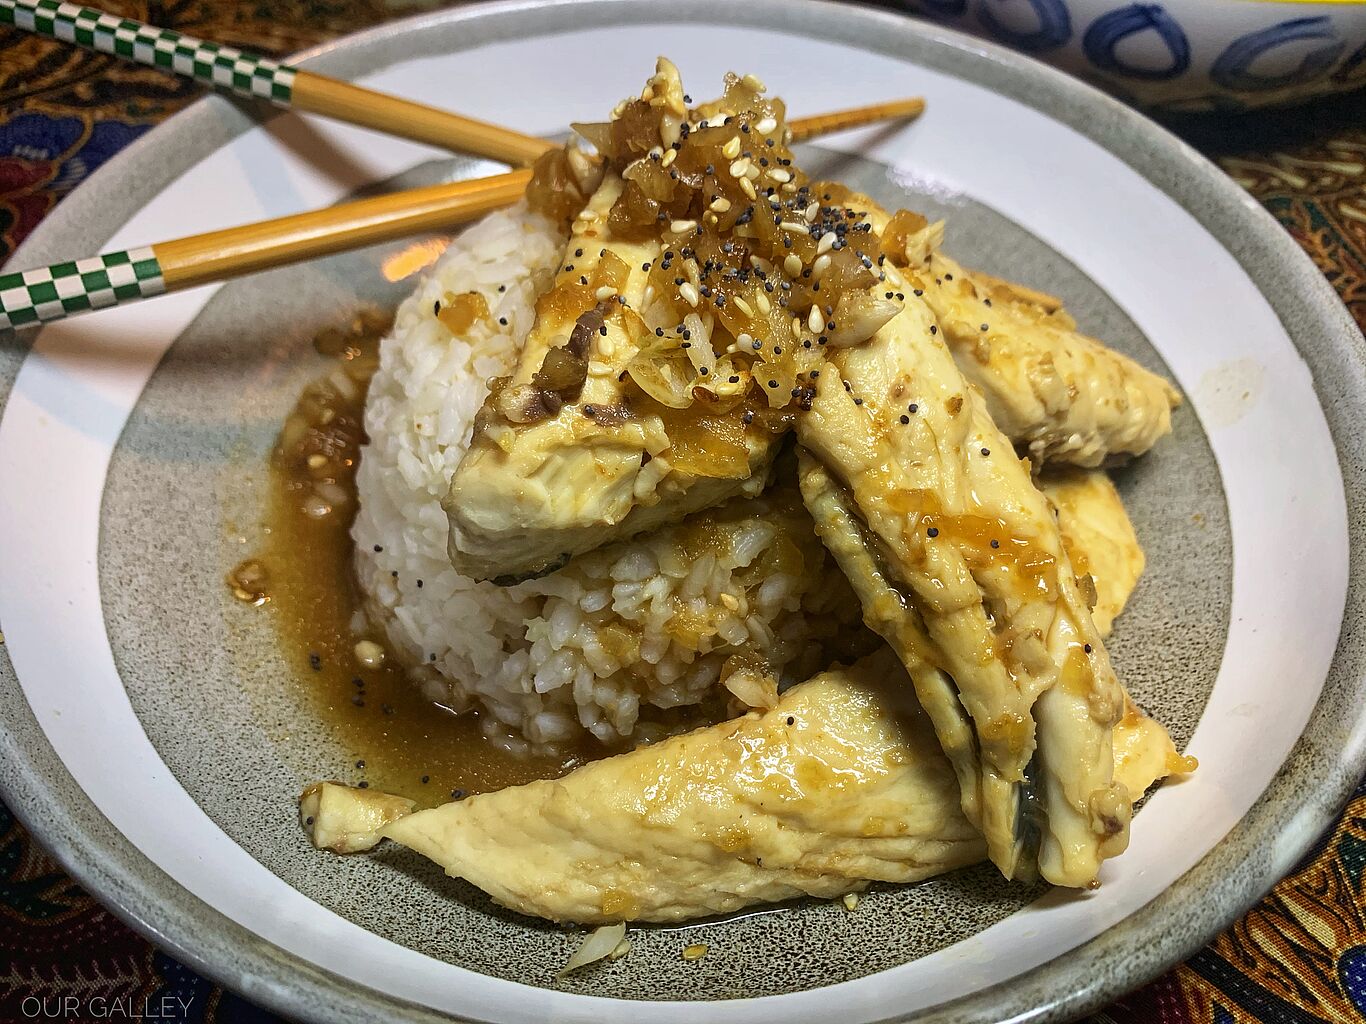


Simmered Mackerel in Miso
Serves 4
Mackerel fillets cooked in miso flavoured sauce – this is a great way of cooking mackerel. Simmered Mackerel in Miso is full of flavour and goes so well with rice.
Ingredients
- 4 mackerel fillets
- 3-4 shallots (scallions), cut into 5cm long pieces
- 3 cm cubes ginger , diced
- Simmering Sauce
- 80 g Miso
- 200 ml water
- 200 ml sake
- 2 tbs sugar
- 1½ tbs mirin
- Garnish (optional)
- Julienned shallots (scallions)
- Diced ginger
To serve Boiled Rice
Let’s get cooking
Pat dry fish with kitchen paper. Take 2 tablespoons of water and mix with the miso in a bowl so that the miso becomes slightly watery (easy to dilute). Add shallots, ginger and the Simmering Sauce ingredients, excluding miso, to a shallow pot or a frying pan that can fit all the fish pieces snugly without overlapping. Bring it to a boil over high heat. Add fish pieces to the pot/pan without overlapping, place a drop lid or cover with Alfoil pressed down around fish and cook for 2½ minutes. Reduce the heat to medium and remove the drop lid. Add the miso to the pot/pan in swirling motion so that the miso spreads evenly. Cook for 5 minutes or until the sauce thickens slightly. Do not condense the sauce too much as it will become too salty. Use a ladle and pour the sauce over the fish few times while cooking. Turn the heat off and use a spatula to transfer the fish pieces to serving plates over rice. Pour some sauce over the fish pieces, sprinkle ginger and place julienned shallots on top.
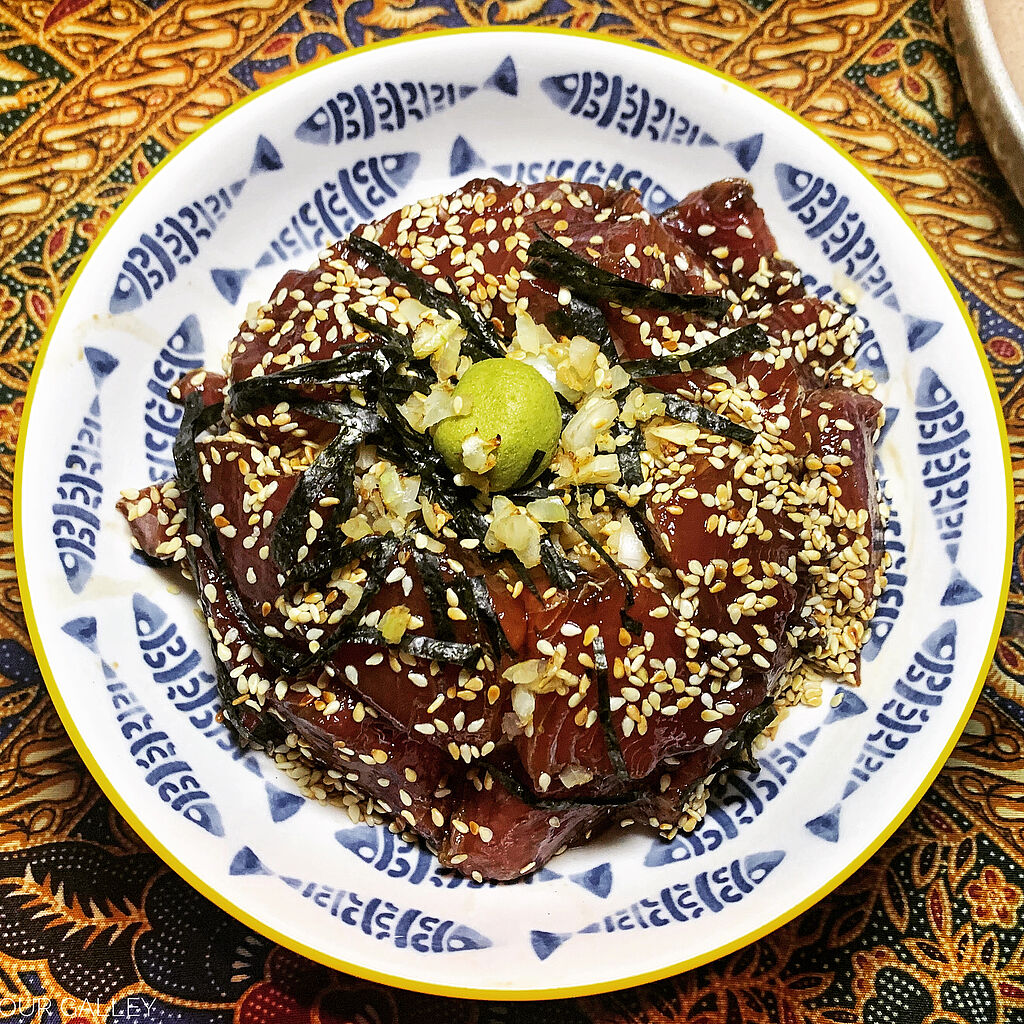
Maguro no Zuke-don (Marinated Tuna on Rice)
Serves 2
Ingredients
- 300 g sashimi tuna - I used Bonito
- 2 bowls of cooked rice, about one cup of rice each
- Marinade
- 2 tbs sake
- 1 tbs mirin
- 3 tbs soy sauce
- Toppings and Garnish
- ½ sheet of yakinori (roasted seaweed), cut into 3cm long thin strips
- 1 tsp white sesame seeds
- 2 tbs shallots (scallions) finely chopped - I didn’t have any onboard so I dried fried finely diced onion
- Wasabi (optional)
Let’s get cooking
If sashimi tuna is not sliced, slice it to 7mm thick. Add sake and mirin to a pot and bring it to a boil. Boil for 10 seconds or so to let the alcohol evaporate. Turn the heat off, add soy sauce and let the marinade cool down to room temperature. Add a few drops of sesame oil if using. Add sliced tuna to the pot and marinate for about 10-15 minutes. Take a tablespoon of marinade and scatter over the rice in a bowl. Scatter half of the yakinori strips over the rice in a bowl, then cover the surface of the rice and yakinori with half of the marinated tuna pieces. Sprinkle half of sesame seeds and shallots over the tuna with a small amount of wasabi paste in the centre if using. Repeat steps 5 – 7 for the second bowl. Serve immediately.
Notes
Instead of tuna, you could use salmon, kingfish, bonito, deep sea bream, trevally, etc. But you do have to purchase a sashimi quality fish. A standard Japanese-style rice bowl would be too small as the tuna slices are placed on top of the rice. You could use a soup bowl or noodle soup bowl instead. The rice can be hot or room temperature. Instead of placing yakinori below the tuna slices, you can place the tuna first, then scatter yakinori, if you like.
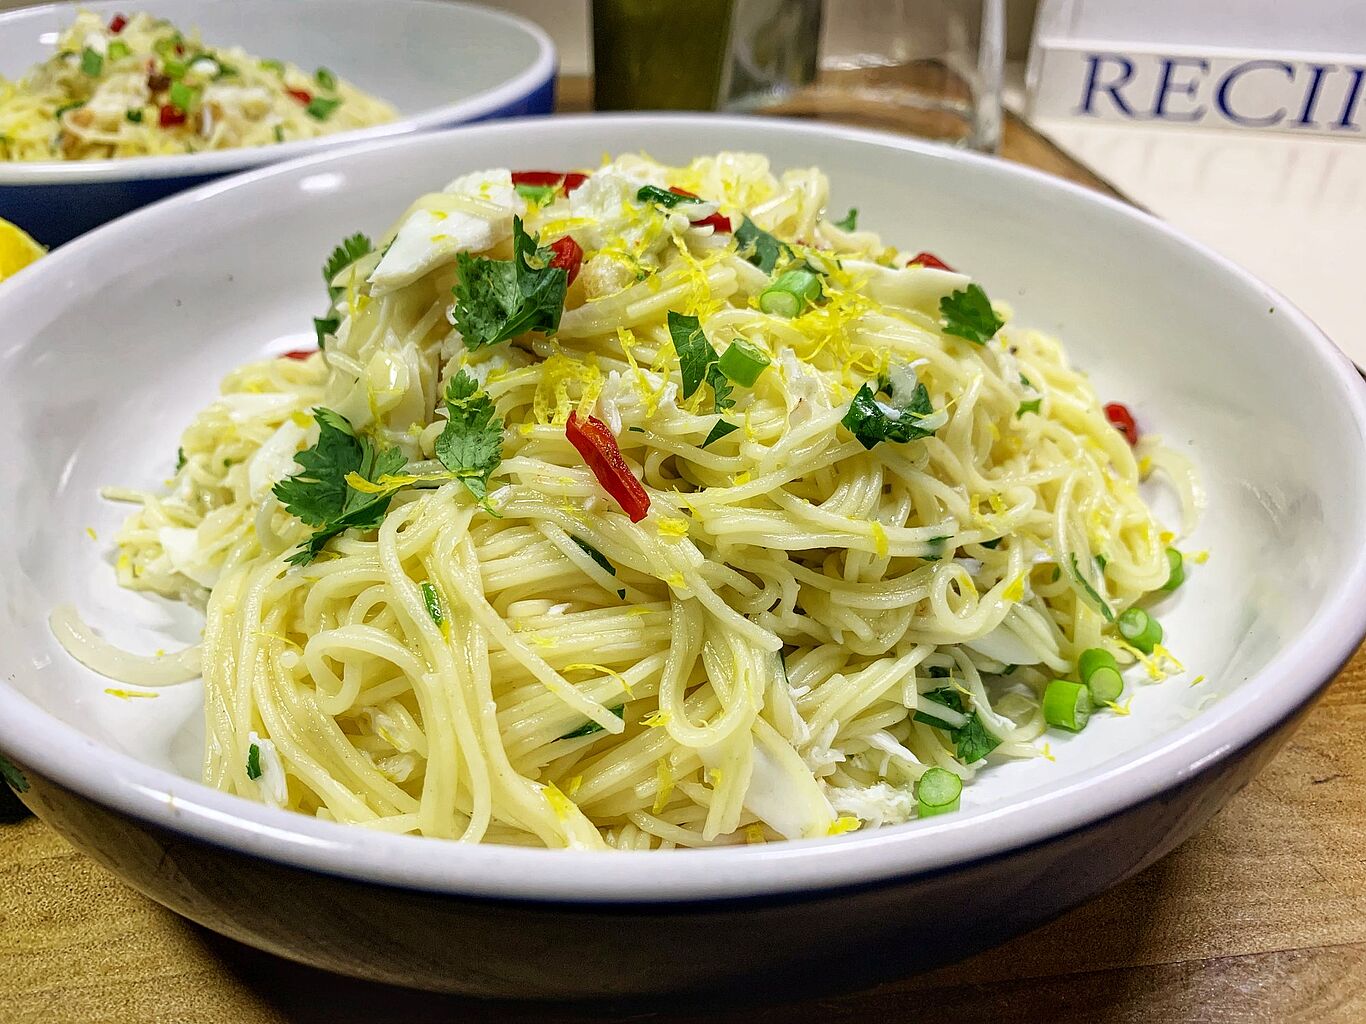
Crab Linguine
Serves 2
Ingredients
- 350g linguine or Pasta of your choice
- 1 garlic clove
- 1½ dried red chilli
- 2 tbs of your favourite Italian herb mix
- 2 cups of crabmeat
- 3 tbsp lemon olive oil (1 tbs of lemon added to oil)
- 1/2 a glass of white wine for you and 1/2 for the recipe
Let’s get cooking
Bring a large pan of salted water to the boil, feed in the spaghetti and cook until just soft, stirring a couple of times to stop it sticking. Peel and finely chop the garlic; halve, finely chop the chilli. Roughly chop the parsley. Heat 2 tbsp of the oil in a large frying pan, add the garlic, Italian herbs and chilli and fry for 1 minute. Tip the crab meat into the pan with the wine, season with salt and pepper and heat through for a minute or so, stirring. Drain the pasta, return it to the pan and tip in the crab mixture, the last tablespoon of oil and the parsley. Toss everything together and serve with grated Parmesan.
Honey & Beer Bread
Makes 1 loaf
Ingredients
- 3 cups all-purpose flour
- 2 tbs sugar
- 1 tbs baking powder
- 1 tsp salt
- 2 tbs honey or agave nectar
- 1 can / bottle beer
- 4 tbs unsalted butter melted
Let’s get cooking
Preheat the oven to 280°. Grease a loaf pan. In a medium bowl, whisk together the flour, sugar, baking powder and salt. Using a wooden spoon, stir the beer and honey into the dry ingredients until just mixed. I put my honey on the stove for a few minutes, so that it was easier to mix. I barely, barely mixed the dough. Just a few strokes to make sure all the ingredients had come together and all the dry ingredients were incooperated into beer. Pour half the melted butter into the loaf pan, this helps form the crusty base. Then spoon the batter into the pan, and pour the rest of the butter on top of the batter. Bake for 50 to 60 minutes, until top is golden brown and a toothpick/knife inserted in the middle comes out clean. This could be less time in a conventional oven. Set your time for 35 minutes to check, remember I am using a boat oven which isn’t always the most efficient.
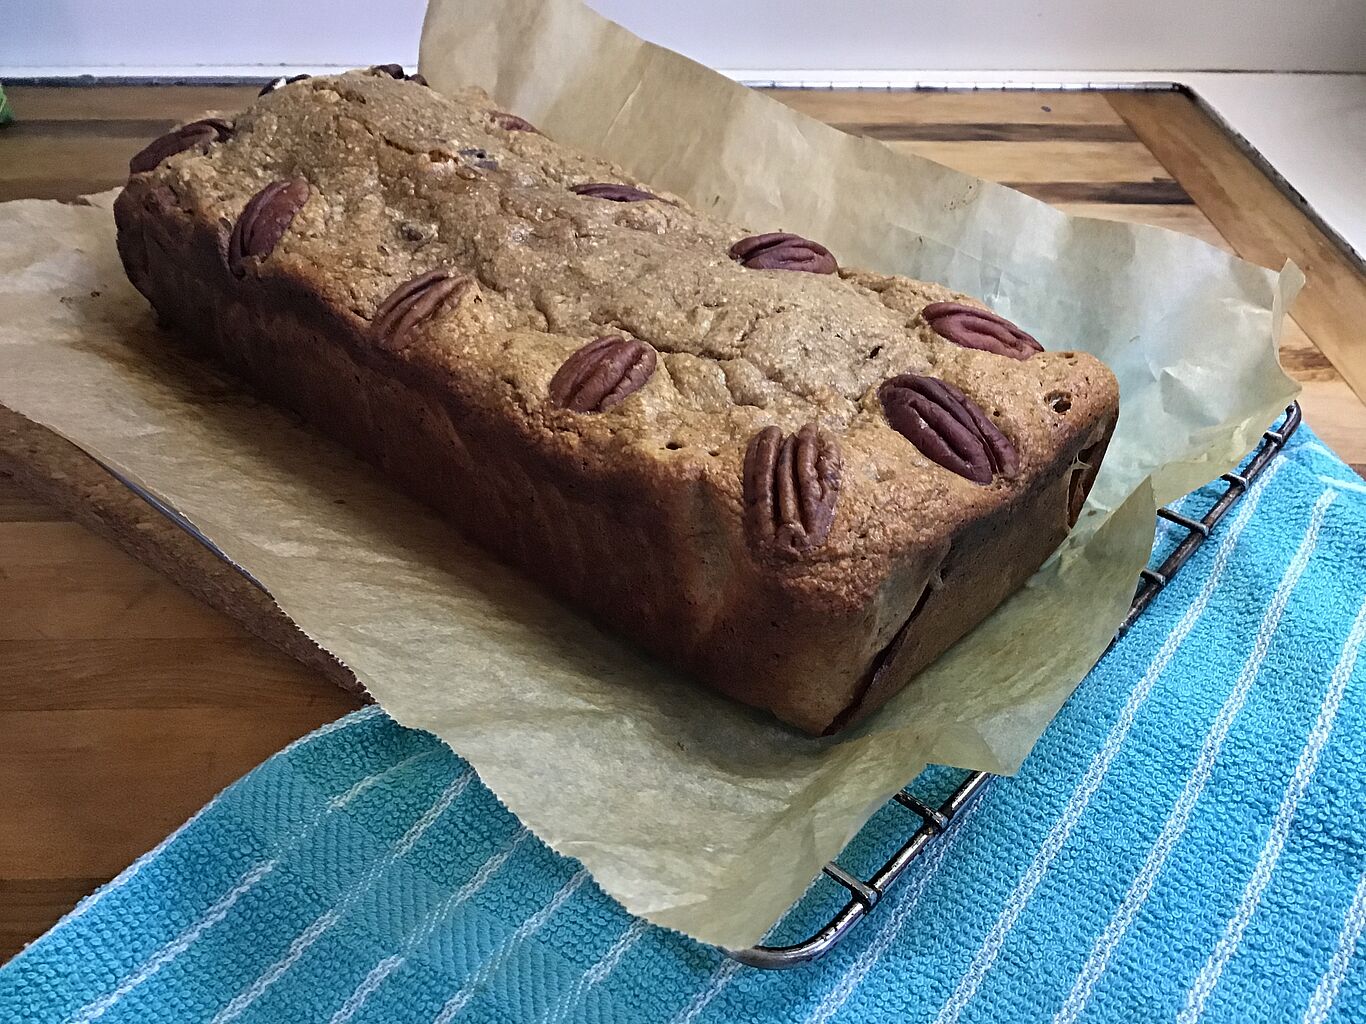
Coconut Pecan Banana Bread
Makes 1 loaf
Coconut flour is a great alternative for those looking for gluten-free and/or grain-free recipes. However it tends to soak up any moisture – so certain recipes it cannot be a direct substitute for all. This recipe is heavenly.
Ingredients
- 1/2 cup of Coconut Flour
- 1 cup of Pecans, roughly chopped extra for decoration
- 4 over ripe bananas roughly cut
- 4 room temp eggs
- 1/2 cup Almond Spread or peanut butter
- 3 tbs EV Coconut Oil, melted
- 2 tsp vanilla + 2 tbs Cinnamon
- 1 tsp Baking Powder
- 1 tsp baking soda
Optional add chunks of delicious bulk milk chocolate for a more indulgent treat, I didn’t in this bake but have in the past and the combo of Banana Coconut and Chocolate.... well just think Banana Split ... just sayin’
Let’s get cooking
Preheat your oven to 180 degrees + line a baking dish with coconut oil or baking paper. Add all the wet ingredients to large bowl and mix. Next add in the flour, baking powder, baking soda and cinnamon and continue to mix until well combined. Lastly stir through the chopped pecans – making them as chunky or fine as you like. Add mixture into the loaf dish and bake in the oven for 45 – 50 minutes or until a knife comes out clean. Allow to cool before removing from the dish.
Beer Battered Fish
This quantity is enough to coat 8 good sized fillets.
Ingredients
- 1 cup flour
- 2 tbs cornflour
- 1⁄2 tsp sea salt flakes
- 1 cup ice cold beer
- 1 egg yolk
- 2 egg whites, beaten until stiff
Let’s get cooking
Dry fish with paper towel before starting. Start heating oil as you want to start using batter as soon as it is ready. Stir together flour, cornstarch and salt. Make a well in the center. Combine icy cold beer and egg yolk, beating with a fork or whisk until frothy. Add all at once to dry ingredients. Slowly stir just until moistened; DO NOT over stir,a few lumps should remain. Fold in beaten egg whites. Use batter immediately. Heat oil 180. Add 1 teaspoon salt. Dip fish, shrimp or vegetables into batter, swirling to coat. Fry a few pieces at a time 2 to 3 minutes or until golden brown. Drain on paper towels.
Polenta chips
Serves 2
Ideal with the Beer Battered Fish.
Ingredients
- 400 ml vegetable/chicken stock
- 150 g quick-cook polenta , plus 2 tbs for dusting
- 40 g Parmesan cheese , plus extra to serve
- olive oil
- sea salt flakes
Let’s get cooking
Bring the stock to the boil and slowly whisk in the polenta, stirring constantly. Add a pinch of sea salt and, after a few minutes, once thickened, finely grate in the Parmesan. If you would like extra herbs now is the time to add them. Pour into a greased and lined 20cm square tin. Cover with baking paper and place another baking tin on top and lightly weight it down. Now pop in the fridge to chill and firm up, about 1 hour. Preheat oven to 220ºC. Turn the polenta out on a cutting board and cut the polenta into chips and brush with 2 tbs of olive oil. Dust with the extra polenta. Arrange on a greased baking tray in a single layer and bake for 30 minutes, or until crisp and golden. This may take longer depending on your size of chips I like mine thick. Serve the hot polenta chips with some extra Parmesan grated and sea salt flakes on top. Enjoy a healthy alternative to fried potato chips.
Pea n Salmon Risotto
Serves 4
Ingredients
- 2 tbs olive oil
- 2 tbd butter
- 1 medium onion chopped
- 2 cloves garlic finely chopped or 1/2 tsp of minced garlic from jar
- 2 cups risotto rice
- 1 cup dry white wine
- 4 cups chicken stock or fish stock
- ½ preserved lemon diced
- 2 tbs lemon juice
- 1 cup frozen peas
- 1 large can of Pink Salmon
- To serve:
- ¼ cup grated Parmesan cheese or Romano cheese plus more for serving (optional)
- 2 tbs butter
- a good handful of fresh dill chopped or 1 tbs dried dill
Let’s get cooking
In a large pan, saute the onions in oil until and butter they are cooked and soft but not browned. Add the garlic and cook for another minute. Add all the rice and stir it around with the other ingredients to toast the grains thoroughly without browning. Raise the heat to high, add the wine and reduce it until nearly all of the liquid is absorbed into the rice. Stir in the stock, lemon, and lemon juice. reduce the heat, stir and leave to cook covered 15-18 until the rice is just undercooked (Checking after about 15 minutes to make sure no additional stock is needed. If the risotto looks dry, add some of the remaining stock). Drain the can on salmon, break up the salmon to your liking. When the rice is just undercooked, add the peas, stir and cook until the rice is done. Add the chopped dill, the butter, and grated Parmesan cheese. Mix together. Add the salmon and season to taste before serving.
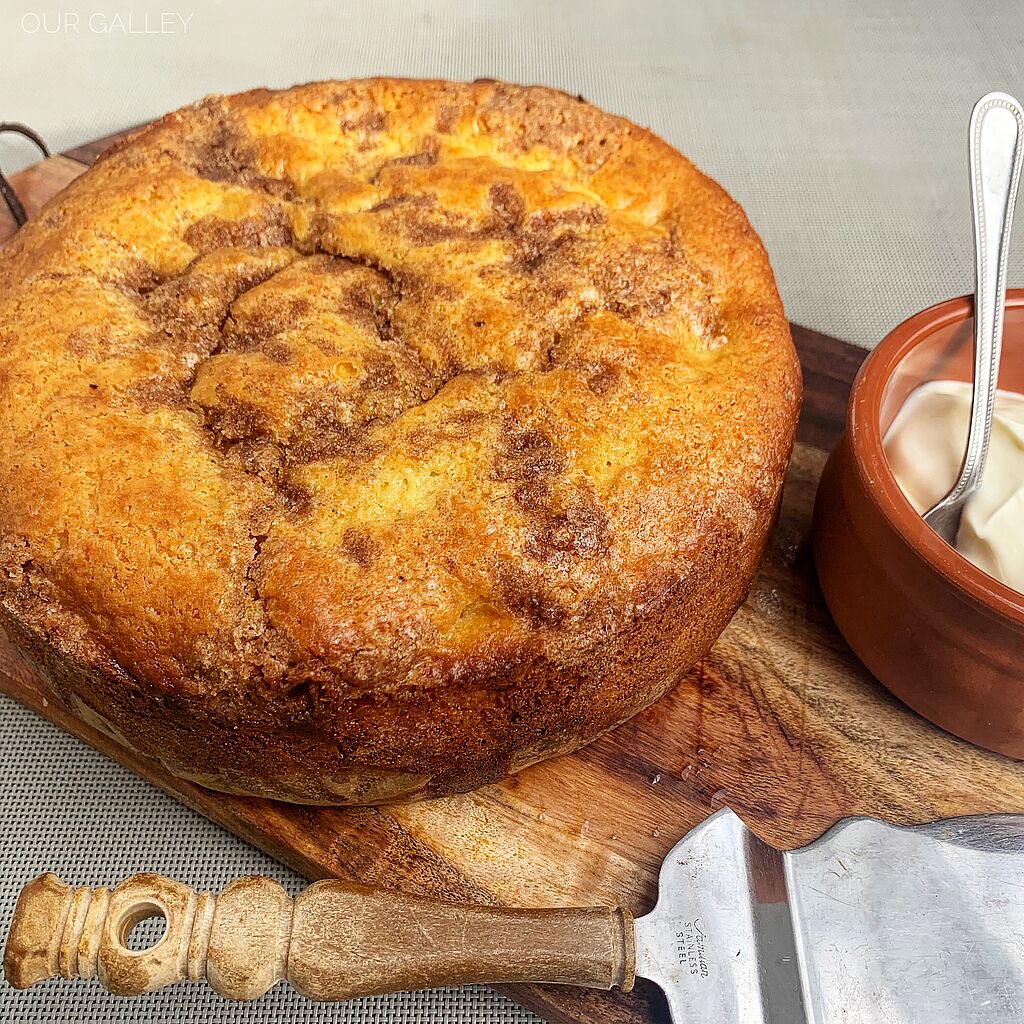
Cinnamon and Apple Cake
Ingredients
- Apple cake
- 1 and ½ cups plain flour
- 2 tsp baking powder
- ½ tsp baking soda
- ¾ cup castor sugar
- 1 cup (approximately 1 large) red apple, peeled and roughly chopped
- 2 large eggs
- 1 tsp vanilla extract
- ½ cup vegetable oil
- ½ cup Greek yogurt
- Cinnamon topping
- ¼ cup castor sugar
- 1 tsp ground cinnamon
- 1 tbs unsalted butter, melted
Let’s get cooking
Preheat oven to 180 C . Grease and line an 8 or 9 inch round cake tin with baking paper. In a large mixing bowl, add flour, baking powder, baking soda and sugar. Add chopped apple and stir briefly to combine. In a separate bowl, add eggs, vanilla, oil and yoghurt. Whisk briefly just to break up the egg yolks. Add wet ingredients to dry ingredients and gently mix with a wooden spoon until combined – but be careful not to over mix. Spoon batter into prepared tin. To make cinnamon topping, combine cinnamon, sugar and butter. Mix together until lumpy and wet. Sprinkle over cake batter. Bake cake for approximately 30-35 minutes or until a skewer inserted into the middle comes out clean. Transfer cake to a wire rack to cool completely.
Sweet and Sour Pork
Serves 4
Ingredients
- 500 g roast pork leftovers cut into 2cm cubes
Batter
- 1/2 cup plain flour
- 1/4 cup cornflour
- 1/2 cup cold water
- 1 egg
- 1/4 tsp salt
- 1 L Sunflower oil
Sauce
1/2 red capsicum
1/2 onion, sliced into wedges
1 carrot cooked sliced (I use my pickled carrots)
Sauce
- 300 g canned pineapple
- 2 tbs pineapple juice reserve liquid
- 3 tbs oil
- 1/2 cup sugar
- 2 tbs soy sauce
- 2 tbs white vinegar
- 1/2 cup tomato sauce
- 1 tbs cornflour
- 1 cup water
(This makes a lot of Sauce, I cryovac the extra sauce and freeze for next time).
Let’s get cooking
Sauce: Heat oil and sauté chopped vegetables for 5 minutes. Set aside. Mix sugar, soy sauce, pineapple juice, vinegar and tomato sauce together then add to the vegetables. Add the pineapple pieces and bring to the boil. Once the sauce is boiling, add the cornflour which has been blended with the water. Continue stirring until mixture boils and thickens. Keep hot while preparing pork. Heat oil for deep-frying pork. Whisk batter ingredients together until smooth. Add pork and stir to coat well. Fry pork in batches until cooked, about 4 - 5 minutes. Drain on paper towels and keep warm while cooking the rest of the pork. Once all the pork is cooked, add vegetables and top with sauce, serve with the sauce and some plain or fried rice.
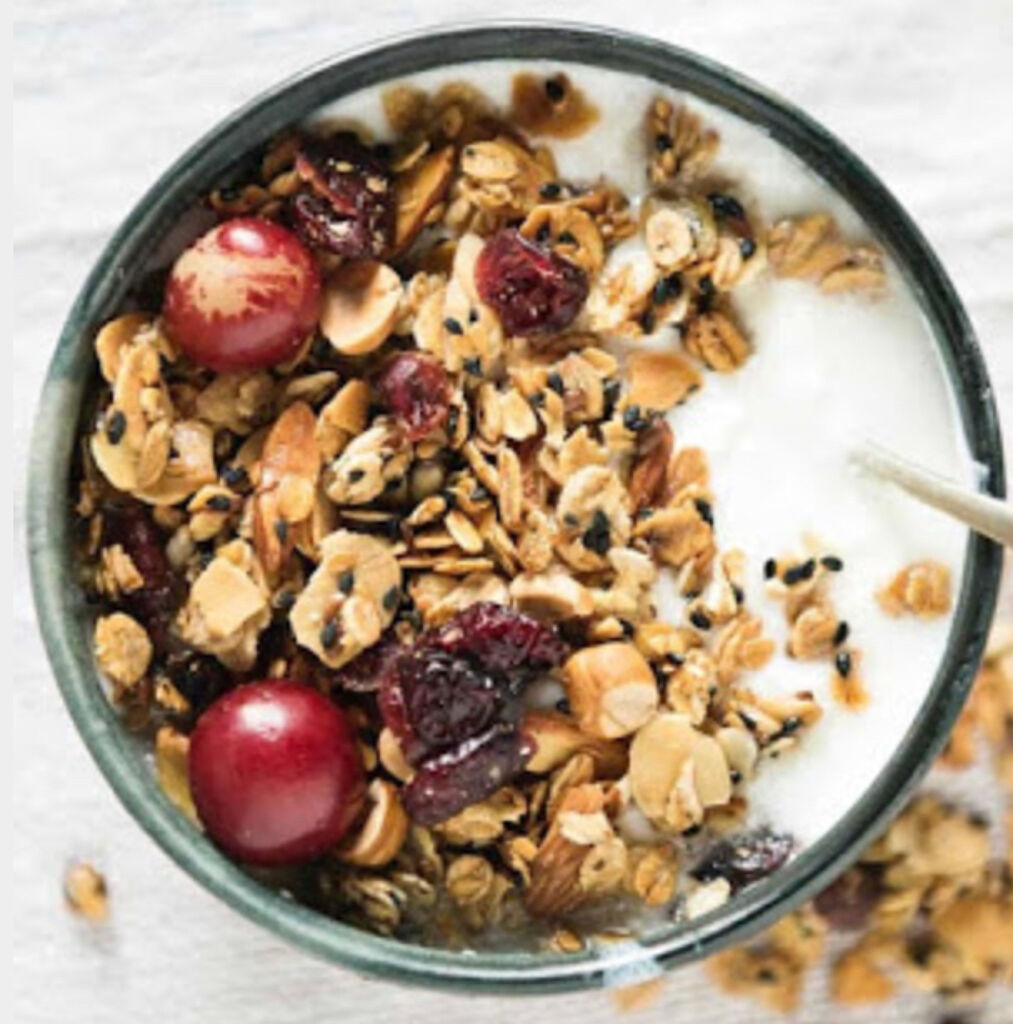
The Best Home Made Granola
Granola is one of the most expensive packaged staple foods and it’s much more economical to make it at home. By using a range of spices, natural sweeteners, nuts, seeds and dried fruit, you can create endless variations of homemade granola and never get bored. Once you try homemade granola, you won’t go back to store-bought granola. It’s so much better! Plus, homemade granola is super easy to make. You’ll only need one bowl and some basic pantry ingredients. Ready to make some? Do you love granola? Me, too! Today, I’m sharing my “basic” granola recipe, which is also the best granola recipe. Granted, I’m partial, but it really is the best and I use that term sparingly. Serves four, buy in bulk at your Bulk Food Source shops and you will save a bundle of sailing kitty. I usually make three or four times this quantity as it’s our regular ‘go to’ breakfast.
Ingredients
- 1/2 cup each of the following
- Macadamias
- Pecans
- Walnuts
- Sunflower seeds
- Pumpkin seeds
- 2 tbs of the following
- Linseeds
- Chia seeds white
- Chia seeds black
- Sesame seeds
- 1 tsp of cinnamon
- 1 tsp of allspice
- 2 cups of Coconut flakes
- 2-3 tbs of coconut oil
- 1 tbs of honey
If you have other favourites add them in. To serve fresh berries or frozen. 1 cup of coconut yoghurt or unsweetened yoghurt of your choice.
Let’s get Cooking
Heat oven to 180. Line baking trays with baking paper. In a large bowl mix all ingredients together. Spread mixture onto trays not overly thick. Bake for 15 minutes or until toasty, the scent in the Galley whilst baking this is wonderful. Allow to cool and store in airtight container. Serve with suggested toppings ..... a quick breakfast has never been so yummy ...
Homemade Probiotic Yogurt
Ingredients
- 1 litre of milk
- Optional: + 1/3 cup instant dry milk (use to make the yogurt creamier and boost the protein content)
- 1/4 cup of quality plain yogurt
- 2 capsules of probiotic
Let’s get Cooking
Mix the instant dry milk with the fresh milk with a whisk until well combined. Heat 1 litre of milk on the stove for five minutes brining to a simmer. Stirring constantly so it doesn’t burn or stick. Remove the milk from heat and let cool to baby-warm. You know what I mean by this test it on the inside of your wrist. It should not burn you, it should be lukewarm. Heat 2 litres of water in a large pot on the stove. Get it as hot as you can and still put your hand in it. Turn off heat. “Starter” ... In a small cup, spoon a 1/4 cup of plain yogurt (that you should have in the fridge leftover from the last time you made or from the yoghurt you bought) and break open two capsules of probiotic supplements into the yoghurt. Mix well. Add a little of the lukewarm milk to the “starter” mix and stir. Add this mixture back into the warm milk and stir well until all the starter mix is mixed in with the 1 litre of warm milk. Put your probiotic milk into a sterile container and set inside the pot of hot water. (Or use your yoghurt maker at this stage). Let it sit undisturbed for a couple hours. Do not stir the yogurt. Ever. If you are using a stove top pot to incubate. Remove the yoghurt container after a couple hours and reheat the water. Place the yogurt container back into the hot water. The culturing process will take five to six hours (you may have to re-heat the water one more time, if the weather is cool I place a lid on the pot and then place the pot into the sink surrounded by hot water this helps maintain the right temperature of between 35-45C). If using a Yoghurt maker pot. Seal the lid and leave overnight for 8 hours, with the quantity of boiling water recommended by the manufacturer. I find the longer I leave the incubation the more “Tart” in taste.
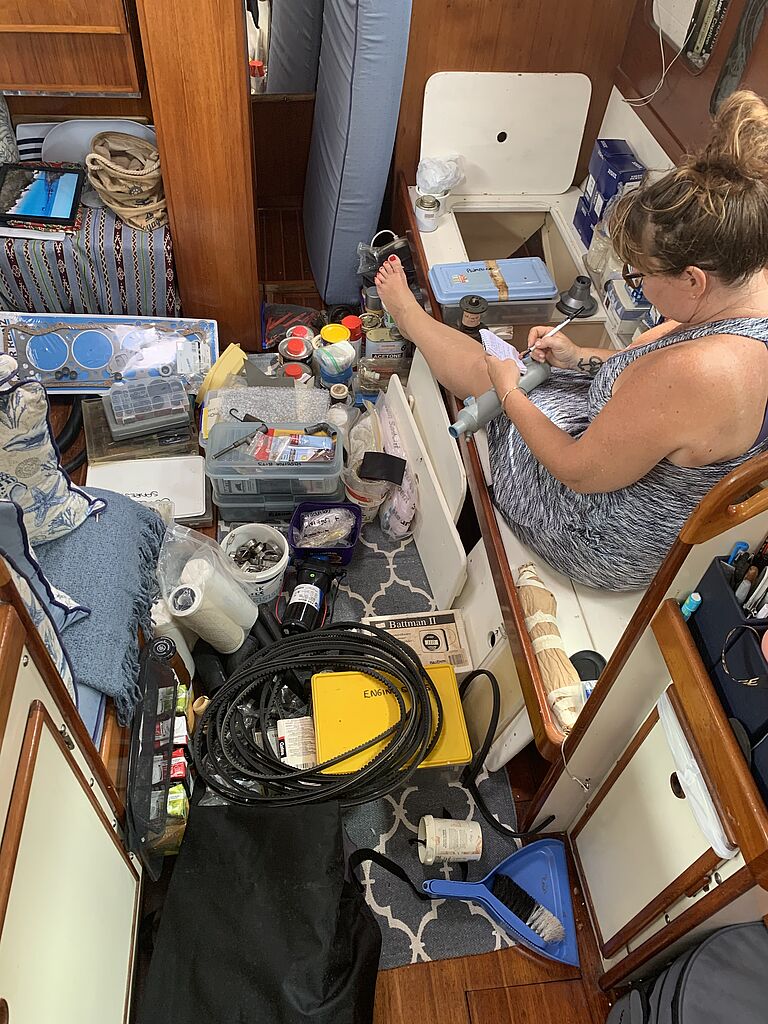
Sustaining life at sea
Of course being out on the water isn’t only about food. Some of the essential items we need to carry which landlubbers rarely need to worry about are, all the spare parts for boat engine and tender outboard, energy, communications, sails, refrigeration, plumbing, electrics, fresh water, gas and fuel supplies. Though we have the means to make fresh drinking water from seawater through our desalination unit this does use petrol. Knowing that there is only so much petrol and diesel we can carry mameans we are still very cautious of our water usage. We also need to generate our own power for all of the above uses plus our navigation systems, computers, cameras, and anything else that we just love to plug into an electric socket. So we generate power through engine’s alternators when motoring, solar panels, a wind generator and small portable generator we use with the watermaker. Again we are very mindful of the usage and always turn everything off when not in use to save every amp possible.
A well stocked medicine and first aid cabinet is essential. We are sure to have a plentiful supply of prescription medication. Our doctor supplies us with one prescription that gives us 6 months worth of our medications. It’s really difficult arriving in a new town finding a doctor and then going through your medical history every time, so we also have a letter from our doctor explaining our individual medication needs. We have also organised with our doctors to have Skype or phone consults with them from the boat.
Finding a hobby to help pass the time. Making sure we are going to be amused. There’s only so much binge-watching of DVD’s you can do – we stock up on second hand magazines, books, a pack of cards, hobby materials … anything that we enjoy doing to help beat the boredom. Yes we do have boring times on a boat especially when on passage or hiding from inclement weather.
For the record we left Brisbane and isolated afloat for 73 days before we had to head into Coral Sea Marina at Airlie Beach to get our watermaker repaired. Naturally we took the opportunity to restock out fresh supplies in preparation for venturing even longer next time.
Bio – Karen Oberg and her husband Rob have been live-aboard cruisers since 2011 and have sailed through South East Asia, the Mediterranean and the UK. They are currently cruising the Queensland Coast on their Whitby 42 ketch ‘Our Dreamtime’ while they wait for international borders to re-open. Karen believes good food is a key part of a happy, healthy lifestyle and does not feel cooking in her small galley limits what she can produce in any way.
Rob & Karen have been publishing their sailing blog for ten years and now also post regular sailing videos about their travels which include an ‘Our Galley” cooking and provisioning segment –
Dreamtime Sail Blog – https://www.dreamtimesail.blogspot.com
Dreamtime Sail YouTube – https://www.youtube.com/dreamtimesail
Karen’s food blog and recipes can be found at http://dreamtimesailourgalley.blogspot.com/